Dandelion flowers abound in Amsterdam! Don’t they just look wonderful? Whether you find this plant a pest or a blessing, those woolly, yellow flowers, atop long toothed leaves, rarely fail to catch the eye and could help to keep you healthy.
Most people can easily recognise Dandelion, it has been used medicinally for hundreds of years and well worth understanding. Taraxacum officinale is amongst the most common weed-herbs in urban areas. Those magical clock heads, full of parachute assisted seeds, can spread far and wide from mother plants. It can colonise most urban spaces including balcony and rooftop pots. It loves nitrogen rich soil but can manage in most sunny locations. If you walk through a city park this week I am confident that you will be met by hundreds of cheerful dandelion flowers.
Dandelion is known as a bitter herb but it is also salty and sweet. It works as an internal cleanser. As with other bitter greens, the taste stimulates bile secretion. When first taking or eating this herb it can act as an effective laxative and strong diuretic. It loosens things up as Susun Weed says in her extensive writings on the herb in Healing Wise (also contains lots of recipes not listed here). Amongst other things Dandelion contains high levels of several vitamins and inulin which can help to regulate blood sugar levels. It is packed with nutrients and is helpful for a great many disorders. Dandelions that are at least two years old contain higher concentration of inulin so are more useful medicinally.
A beautiful dandelion found it’s way into one of my roof terrace perma-pots last year. Its leaves and flowers will be gracing my table in the next few weeks – but how? What to do with Dandelion to make it taste really good rather than just something that tastes good for you? Here are a few ideas:
Italian Dandelions
Large Dandelions are apparently only eaten cooked in Italy and are known as Catalogna. The toughest darker leaves are not eaten and Italian recipes call only for those closest to the heart of the plant. Puntarelle is a smaller Italian dandelion variety which is sometimes eaten raw, served with oil, salt and pepper. With both sizes, the leaves cut into strips and the Puntarelle may then be soaked in cold water, whereupon they curl up attractively. Serve dressed with oil, vinegar and perhaps chopped anchovy.
 Italian cooked dandelion (From The Silver Spoon cookbook)
Cut the tops of inner leaves into strips. If you have access to lots of Dandelions, allow about 200g (7oz) per serving. Cook through (15 -20 minutes) in salted boiling water and serve hot dressed with olive oil, salt and vinegar or lemon juice.
Dandelion with garlic and olive oil (From The Silver Spoon cookbook)
Cook 1 kg sliced dandelion leaves in salted boiling water for 15 mins. Drain and squeeze out as much liquid as possible. Heat some olive oil in a frying pan and add 4 whole garlic cloves, stirring as they fry gently, to become golden brown but not burned. Remove and discard the garlic cloves, reserve the resultant garlic oil in the pan. Add the cooked dandelion strips to the garlic oil and cook on a slightly higher heat for a further 15 minutes, stirring occasionally. Season to taste with chili powder if desired.
Dandelion with Parmesan (From The Silver Spoon cookbook)
Cook 750g sliced dandelion leaves in salted boiling water for 15 mins. Drain and squeeze out as much liquid as possible. Chop coarsely and place in a warm serving dish. Melt 65g butter in a small pan and when it turns slightly golden pour it over the dandelions. Sprinkle with 4 tablespoons of grated Parmesan cheese and serve.
Other Ideas:
Add chopped Dandelion root to Kitchadi – Kitchidi is an easy to make, nutritious, easily digested, traditional one pot Indian dish. Lentils and rice are cooked together with some vegetables. Find a recipe that appeals and add some chopped Dandelion root.
Ayurvedic dark leafy greens
Cook a good handful of Dandelion leaves in boiling water and strain. Perhaps save the cooking water for soup if not too bitter. Then brown ½ tsp cumin seeds and then add 1 tsp coriander powder to brown lightly (in ghee) in a skillet. Add to the drained greens and serve immediately.
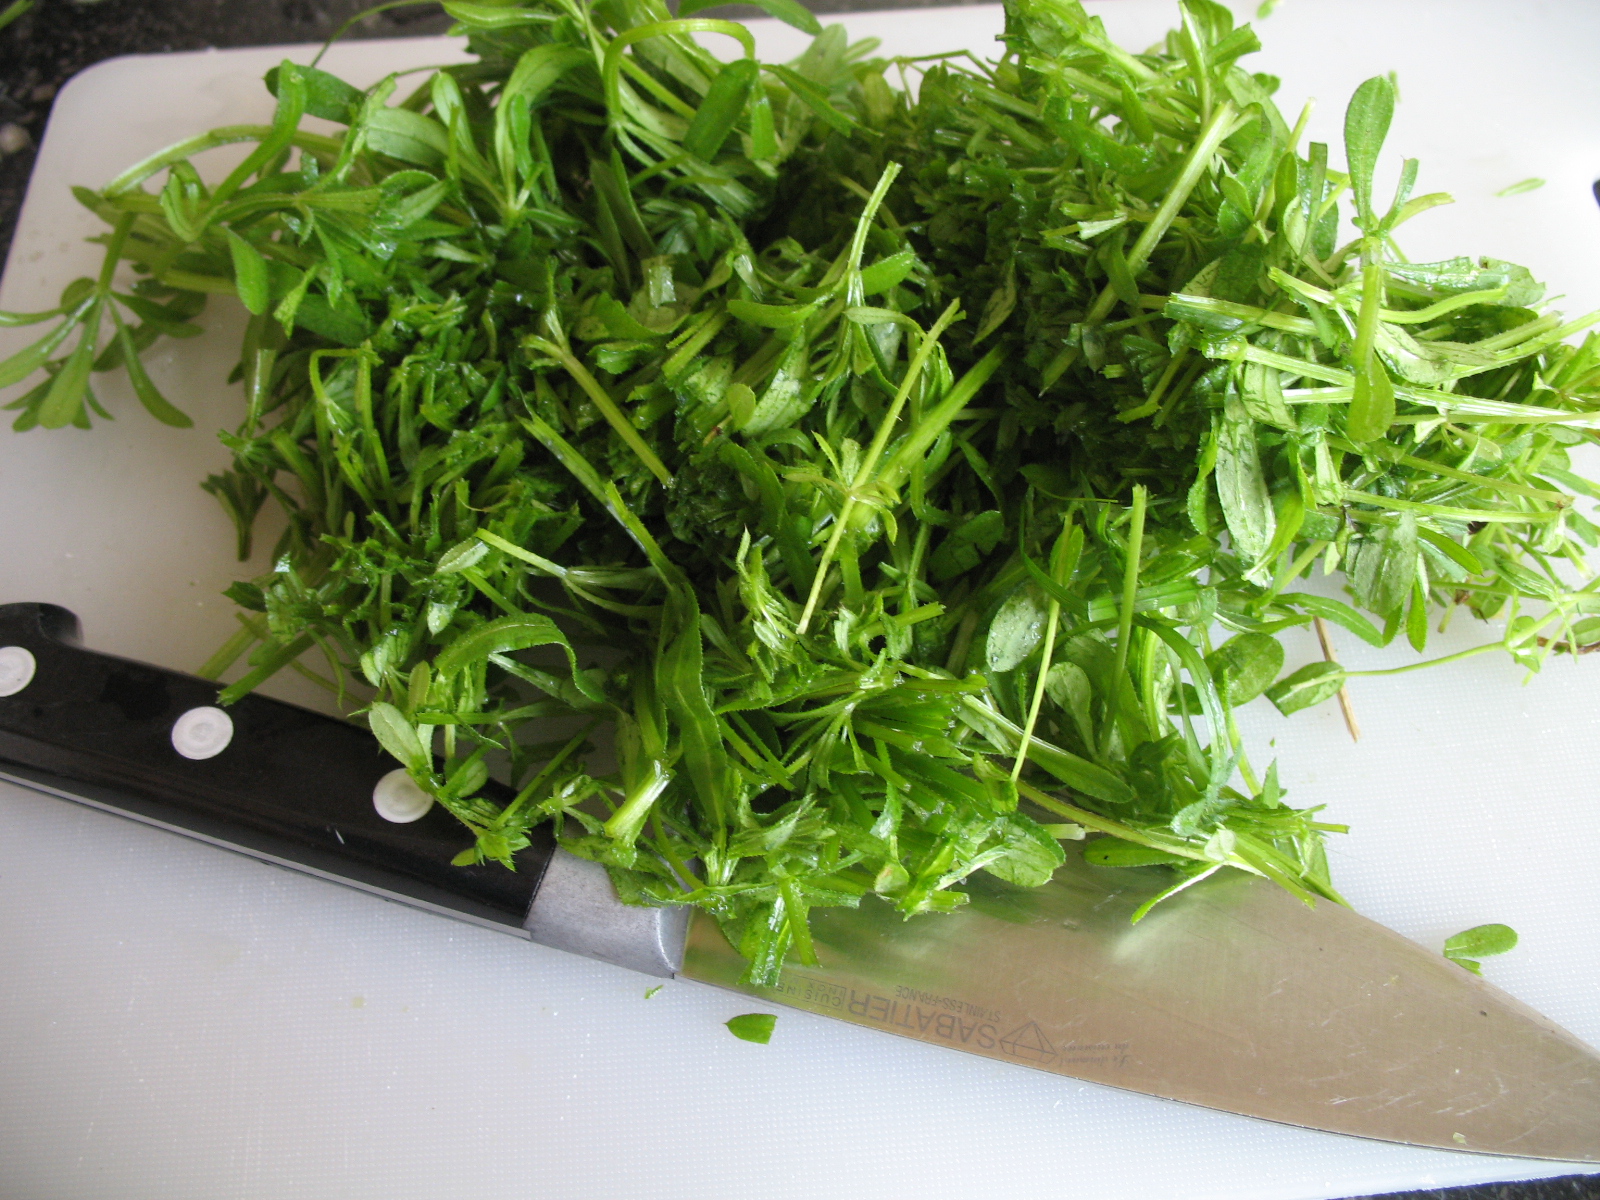
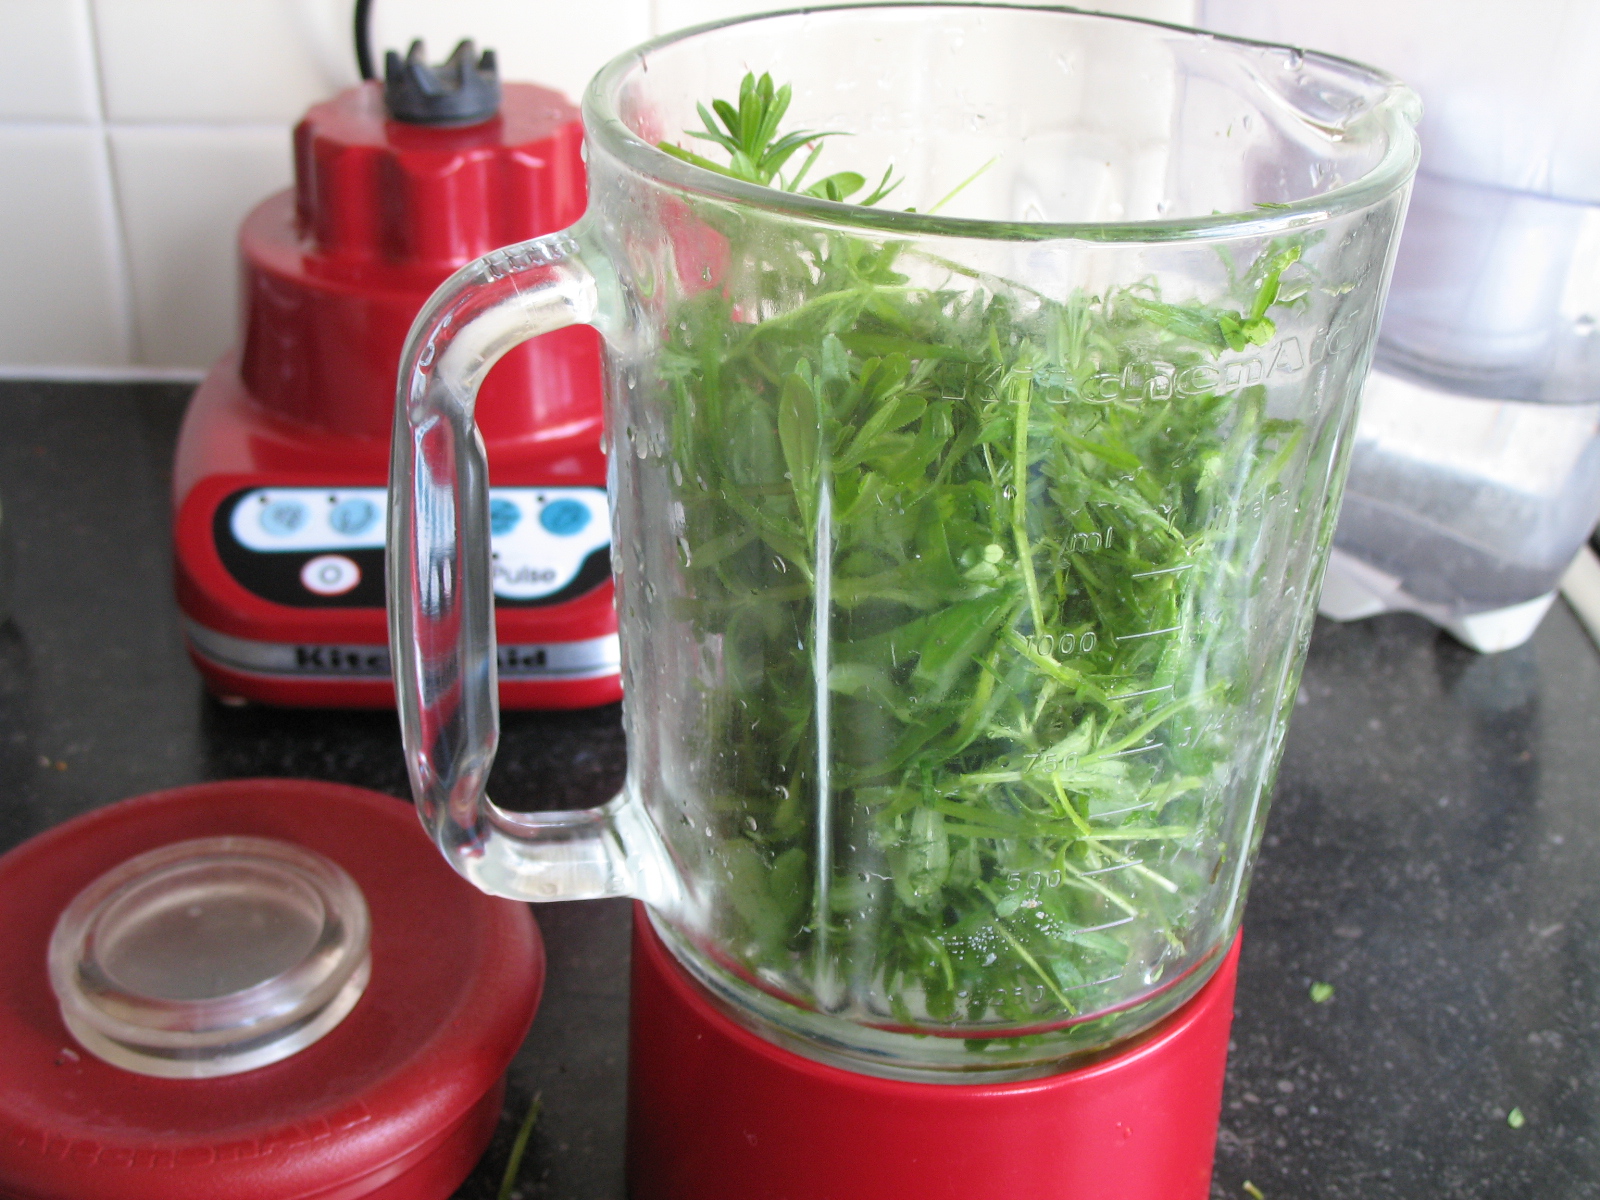
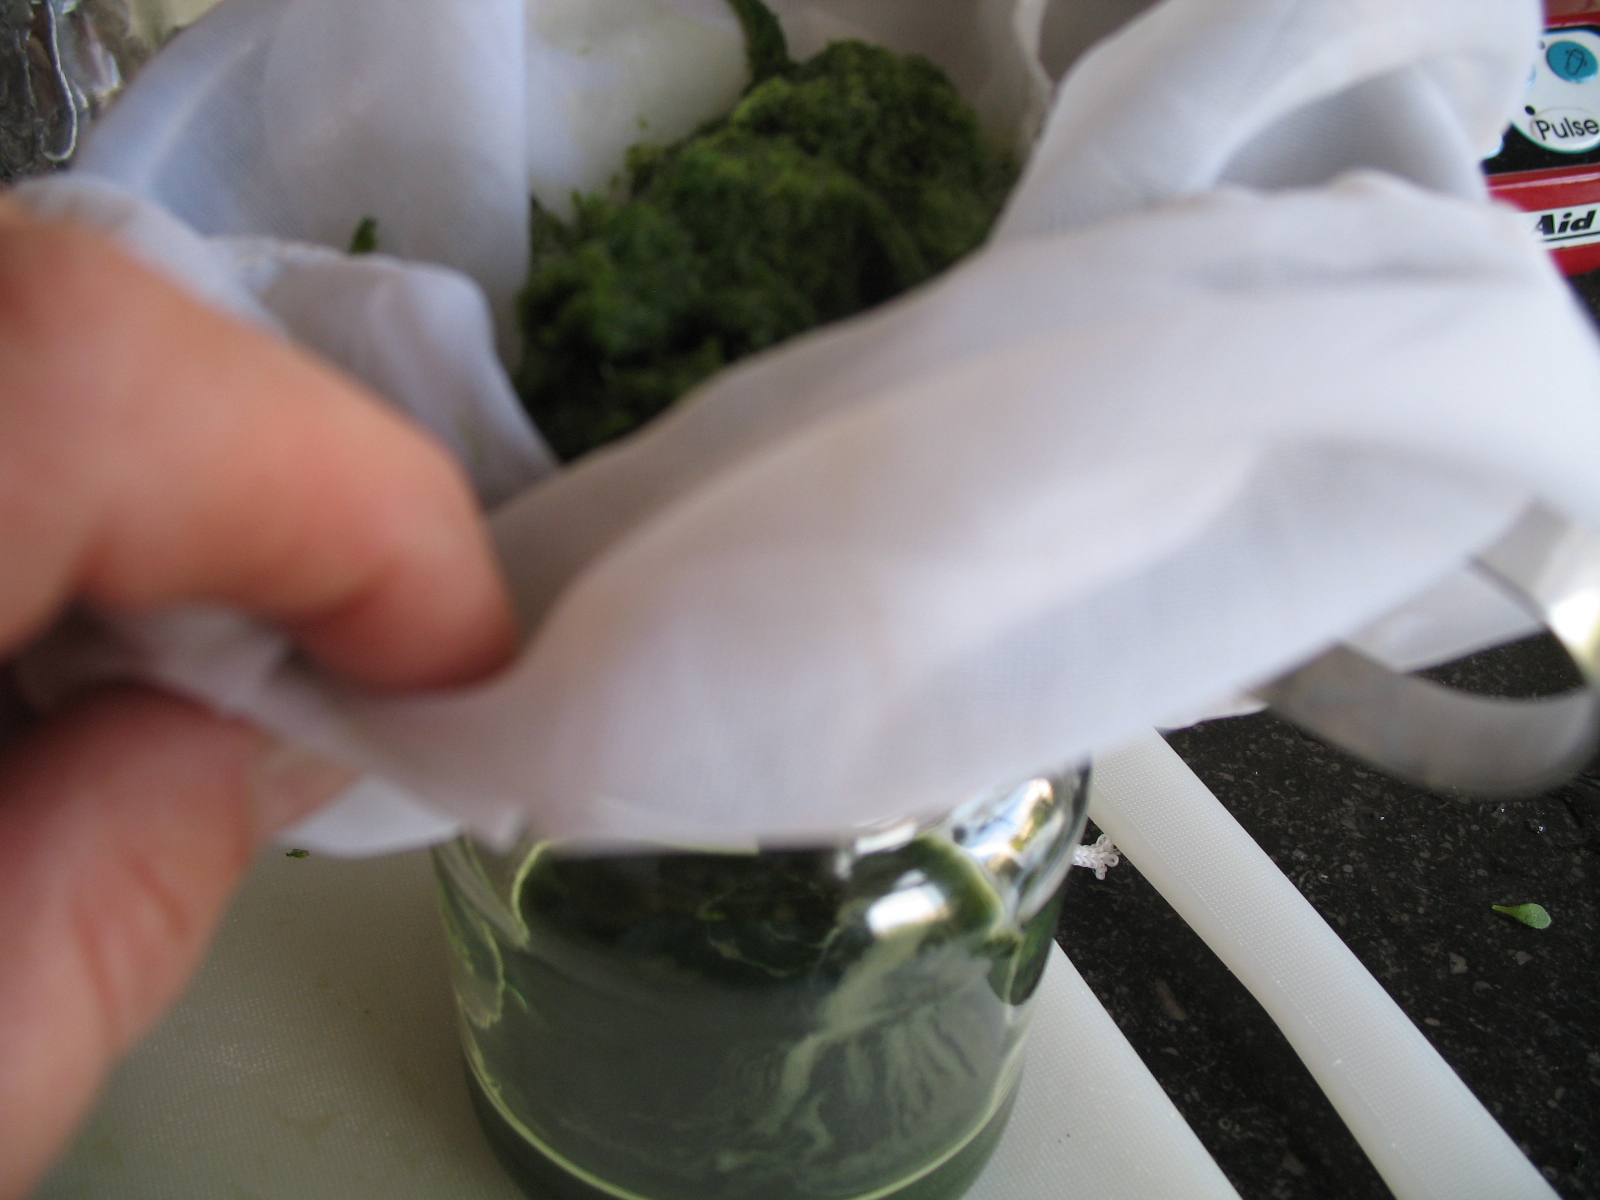
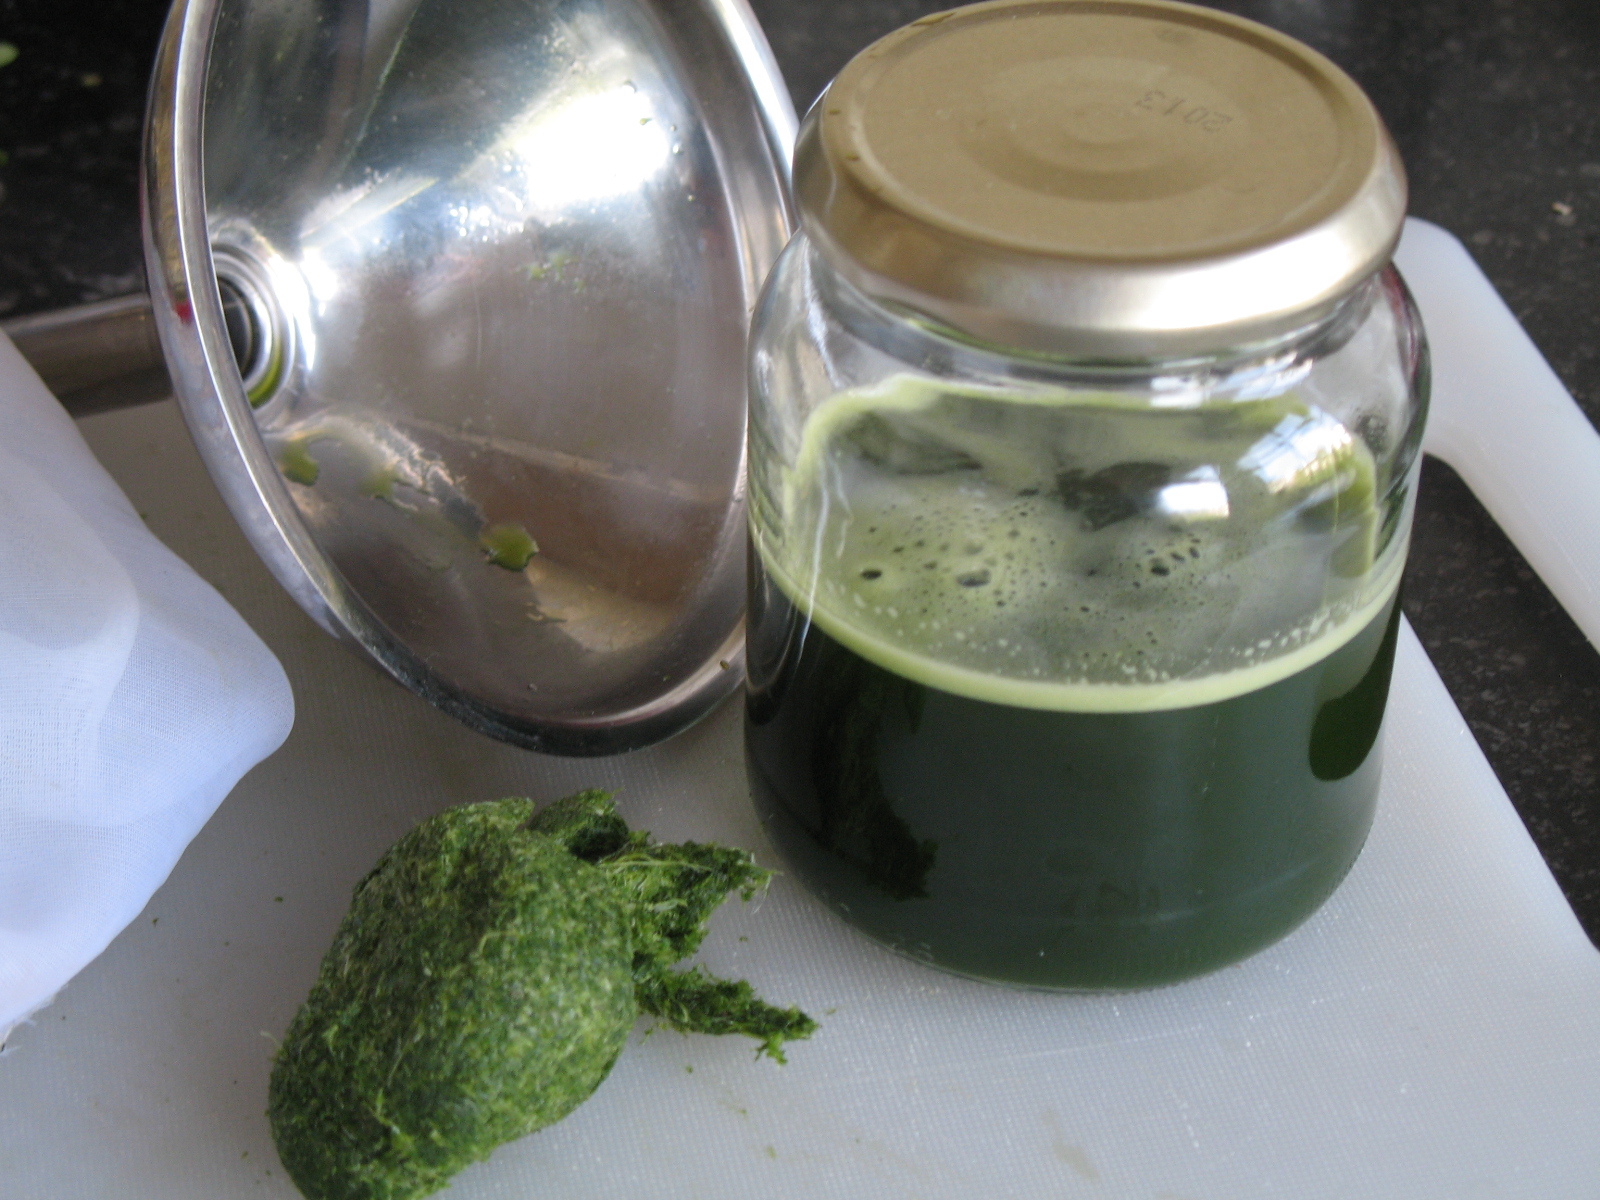
Dandelion leaf Juice
If you enjoy making fruit and vegetable juices, consider adding a few Dandelion leaves to the mix.
Dandelion and Burdock cordial
There are many recipes online and in traditional British cook books. Here’s a simple recipe.
Dandelion leaf and flower salad
I think this speaks for itself. Simply add a few Dandelion leaves and flowers/petals to salads. It looks great and tastes far more robust than lettuce.
 Dandelion flower fritters/pancakes
Simply add whole flowers or petals to a regular pancake or fritter batter.
Dandelion Flower Pickles
You need to collect tightly closed flower heads for this recipe. Here’s a very interesting pickle making link.
Dandelion Confiture (Cramailotte)
Thank you Sonja for passing on this idea. Here’s a link to the recipe in Dutch, others in English can be found online.
Dandelion Root Coffee
Made by roasting cleaned, chopped dandelion root.
Dandelion Wine
Delicious! Many recipes available, here’s one adapted from the Self Sufficientish website…
Ingredients:
About a bucket full of dandelion heads
2 litres of boiling water
Juice of 2 lemons
1kg sugar
1 teaspoon of yeast
Method:
Put flower heads within a muslin/jelly bag, in a bucket and pour over one kettle of boiling hot water.
Mash it ( with a masher and within the muslin/jelly bag) to extract all the “juice”.
Allow to cool and filter through more muslin into a demijohn.
Make up sugar syrup by mixing the remaining 1litre of water with the sugar.
Allow to cool again and add the yeast.
Top up the demijohn with water and insert airlock correctly.
Leave to ferment then syphon and bottle.
Dandelion leaf Tea
Used by some to treat various disorders such as eczema and as a general tonic. Chop leaves and infuse as a tea. Can be taken freely.
Dandelion blossom tea
As for leaf tea. The petals themselves are far less bitter and more pleasant tasting than the green sepals beneath so perhaps pluck the petals out and use alone. Can be taken freely.
Dandelion Tincture
Pack a sterile glass jar with clean chopped dandelion herb (all parts) and fill all spaces with vodka. Leave, sealed, in a coolish place for 4 – 6 weeks. Strain and take as desired. Can be taken freely but of course it is mostly vodka. Most take a teaspoon daily.
Here are a few other online recipes which may be interesting…
Curried Dandelion
Dandelion Fried Rice
Dandelion Columbo
Dandelion Saute
Dandelion Sesame
Dandelion Flower Biscuits
The uses for Dandelion are apparently endless! I am now off to try it as a skin tonic…


 Simply dip one flower at a time into the batter.
 Several flowers can be cooked at once.
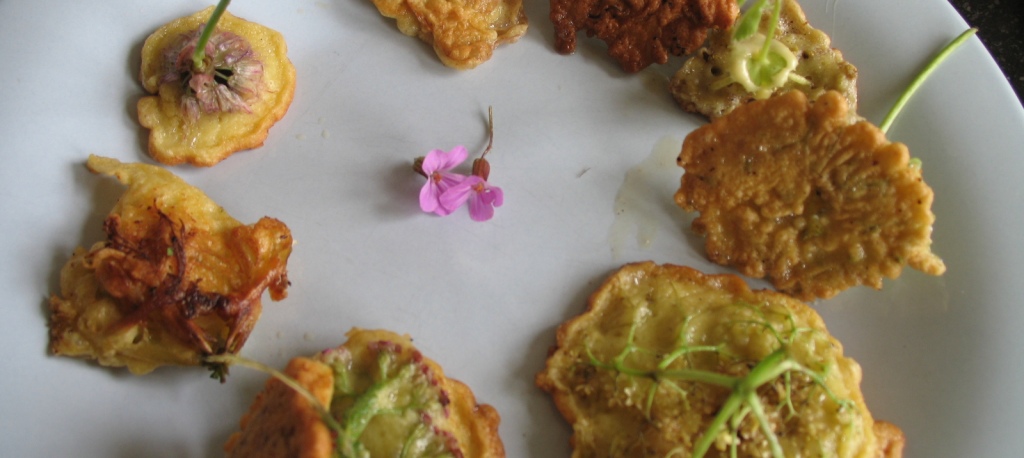 When they are golden brown they should be cooked through and ready to serve with a little of your preference – honey, sugar, cream, yoghurt, chocolate sauce…