
I apologise, I have misled you somewhat. This post is actually about how to make Lilac Mead and Lilac Honey, rather than Lilac Wine.
The reason for my deception is that I think of my mum, our old garden, her best friend Francis and Jeff Buckley, every single time that I pass by a Lilac tree. And dear Jeff Buckley sang Lilac Wine breathtakingly well so as I write about lilac, I can only think of that and hence the misleading title.

Hearing the song transports me back to a time when I would listen to him around the clock and hang on his every pause. If you’re a bit of a romantic too, I suggest playing the track whilst reading through my mead making instructions. I can’t breathe properly whilst listening to Mr Buckley (I seem to breathe along with him) so please forgive me if I lose my thread now and then..
Firstly let’s set up some Lilac honey
Yes, the flowers of the Lilac shrub (Syringa vulgaris) are edible. This plant is in the Olive family (Oleaceae) and you may notice that the flowers are similar to those of Privet (Ligustrum vulgare). Lilac can be easily identified by the large clusters of 4 – petalled flowers, each with a small tube, connecting it to the flower cluster stems, and containing the nectar. Lilac flower clusters are heavily scented and are generally around a 15 – 20cm long.
Mature Lilac leaves are heart shaped and roughly 10cm long whereas Privet has smaller leaves, a smaller stature in general and far smaller white flower clusters. Privet is often found wild and is planted to make a dense hedge. Lilac is sometimes found outside of gardens but is mostly grown for the incredible flowers and the attractive thick stems. I used to scramble around and picnic with snails in our old Lilac shrub, as a child.

Yes, all colours of Lilac flowers will work for this. The scent is the most important aspect, any colour is a bonus. It’s best to harvest the white, lilac or purple blooms whilst they are in tip top condition but as you will see from the images below, some of the blooms which I picked today were partly going over. No matter – it is easy to separate the best parts from the rest.
I don’t know about you but my mead making materials are not sterile at the moment and my limited apartment cupboard space is chock full of canned foods and dried beans. So, whilst the lilac flowers infuse in honey for a week or two, I can find and sterilise a small demijohn and air lock and make some space to keep the fermenting mead. I live in an Amsterdam apartment so space is at a premium and I brew in small batches.
1. Carefully and legally harvest 1 or 2 full lilac flower heads. By legally, I mean, use scissors or secateurs and ask permission. Only take a little. The three heads that I harvested today were from three very large Lilac shrubs.
2. Lay out the blooms, preferably on a bright surface, for ten minutes to encourage any bugs to escape a sticky death. Then separate any dead or dodgy looking flowers from the clusters.

3. Pick each tiny flower from the cluster stems. Be sure not to leave the nectary on the stems, that needs to go into the honey. The nectary is at the start of the flower tube, just where it meets the green. Have a nibble and you will taste the sweetness at that point of the tube.

4. Place the individually plucked flowers in a clean glass canning jar or jam jar. I used a 2 litre jar today and you can see there is loads of space remaining which will be useful when I add water in a week or so.

5. Now gently pour about 500ml / 2 cups of runny honey (preferably local honey) over the tiny flowers and ensure that they are totally covered. Gentle but thoroughly ease them around to get them soaked in the honey. You need as much contact between the honey and flowers as possible.
6. Use a clean slender pointy object, such as a chop stick or knitting needle, to poke around and release any trapped air bubbles from the mix.
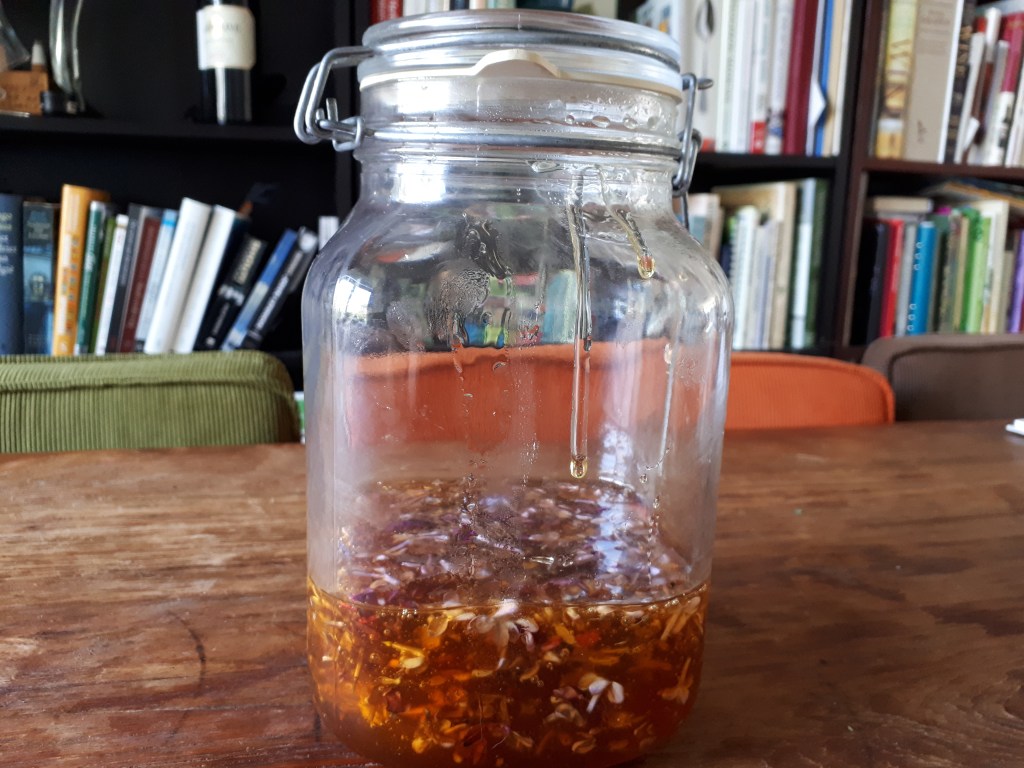
The flowers will rise to the top of the honey as air bubbles escape. That’s fine. Just ensure that those flowers are swimming in honey and that you check that all of the air bubbles have escaped.
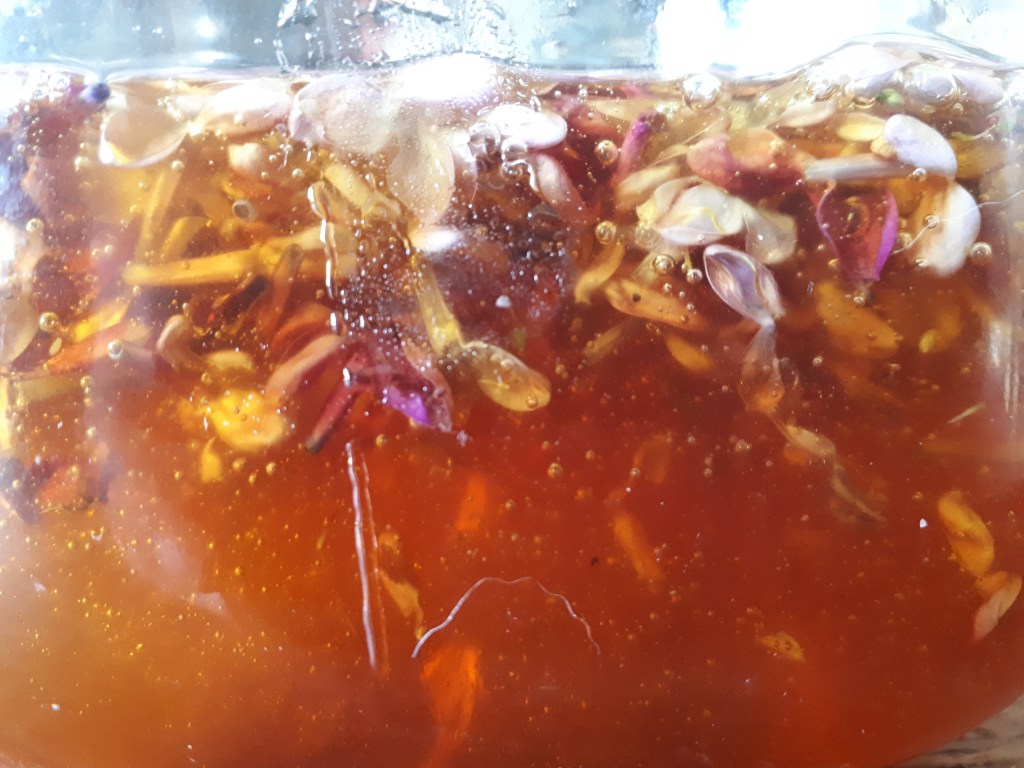
7. Leave the mixture to infuse for as long as you can bear to wait. The basic process won’t take very long (a day) but you’ll get a far more interesting mead the longer you wait with this step. I find that a couple of weeks is sufficient to develop a pleasant complexity of flavour in the honey infusion. During this time, keep an eye on the infusing honey daily, if possible. Check that the flowers are totally honey drenched, especially during the first days, or else you may find browning flowers – a sure sign that oxygen is reaching the flowers enabling rotting. Some people like to tip the sealed jar upside down each day for a week, to prevent the problem. I am more relaxed about it but I make double certain that during the first couple of days, there is no air remaining in the mixture and the flowers are drenched in honey.
NB: If you just want the infused honey, strain the flowers from the honey at this stage. Pour the mixture through a cheese cloth / muslin. Save the infused honey in a clean jar and use the spent flowers in deserts or add a teaspoon per a cup of boiled water for teas. Otherwise, compost them. I like to save some infused honey, without straining and to use the rest for the following mead recipe.
Now the yeasty bit!
8. After sufficient infusion time, add boiled and then cooled (to room temperature) water to the honey flower infusion. Different cultures are known for making mead of different honey:water ratios. The higher the honey concentration, the higher the eventual alcohol content. I prefer a mild mead
For this one I’m adding 3x the volume of honey, in water. As I used about 500ml honey, I will add about 1500ml water. That would fill the jar, so I will probably add a little less. You may need a bigger canning jar at this stage. I do like the 2 litre ones as they will make a decent amount of brew without taking too much storage space.
9. Now give it all a good stir, driving air and natural yeasts into the fledgling mead. Use a clean spoon for this. There will be natural yeasts all over your Lilac flowers but this step encourages in more and it encourages a better brew.
10. Cover the jar with cloth, something such as a clean muslin and hold it in place with an elastic band around the rim of the container. Do not fully cover with the lid. The idea is to prevent flies getting in whilst allowing airborne yeasts to get to the brew.
11. Leave for a week or two and keep an eye on it for any microbial action. Frothiness is a good thing here. It indicates that yeasts are taking hold and are starting to ferment the infused honey, producing alcohol and carbon dioxide. Give it a good stir everyday, at least once daily to drive in more yeasts. Mead needs yeast!
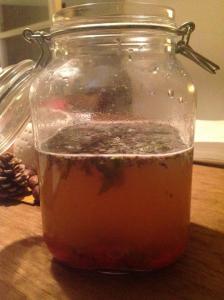
NB: If the local Meadowsweet comes into flower around this time, I will add a flower head of two into the mix. Meadowsweet flowers are covered in local yeasts and really help the fermentation process along.

Dried Meadowsweet will do but I hope you’ll agree, it is far less Jeff Buckley than wandering along to a local stream edge and plucking a heavily fragrant bloom known to the druids and cunning folk of old and still known to some for it’s place in bridal bouquets and midsummer headdresses. Moving on…
12. Keep doing step 10 until you are satisfied that there is a good amount of action in your mixture. If you don’t have any froth at all, on top of the liquid, you don’t have many yeast and you won’t get much of a mead. So give it more time.
13. When there is plenty of excitement in your cloth covered canning jar, strain off the flowers (and please compost them). The liquid is your immature mead. Treat it kindly. It now needs a container with an air lock and that needs to be a nicely scrubbed and sterile container.
I use 2 litre capacity demijohns from de Brouwnarkt.nl. They are great for my needs as they are small enough for my apartment and the green tinted glass stops most sunlight getting in and killing my ferment. This in turn allows me to keep them out of precious cupboard space and on a shelf where I can monitor them (aka covet them every time I pass by and sing lilac wine to myself).
14. As soon as the immature mead is in the demi-john, fit the airlock. These usually need to be half filled with water. The role of the airlock is to keep fresh air and bugs out of the ferment whilst allowing bubbles of CO2 to escape.
15. Let it sit like that, without agitating or fiddling with it, until it stops bubbling for a clear week. This could be a few weeks, it could be a few months. Be patient. Good things come to those who wait.
16. A long period of non-bubbling indicates that fermentation has ceased. However, this could be temporary, in cold temperatures for instance. So be careful not to get over excited and bottle too soon as you may find that increased temperatures later in the year, cause the process to start up again. If that happens in your capped bottles, you will probably get a mess of leaking mead and possibly some exploding bottles.
I tend to leave the air lock on my finished mead for months. As long as the air lock is half filled with water, not much can go wrong. This allows allows the mead to mature.

17. Finally siphon off the finished mead (I keep a meter length of clean aquarium tubing for this purpose) into bottles such as a strong glass Grolsch bottle with pressure cap.

18. Drink immediately or store to allow the mead to mature.
I think mead is amazing stuff and I hope you like it too. Do let me know how you get on with the recipe if you try it. And if you like Mr Buckley’s lilac tones, listen again. Perhaps there is a song out there called lilac mead? If so, do let me know!
I offer an apprenticeship course for those interested in using local herbs and living in tune with nature, whilst in the city. For more information, email me or see the information here. The course runs online with weekly Zoom gatherings, 1:1 walks and workshops restarting when the COVID situation improves.
